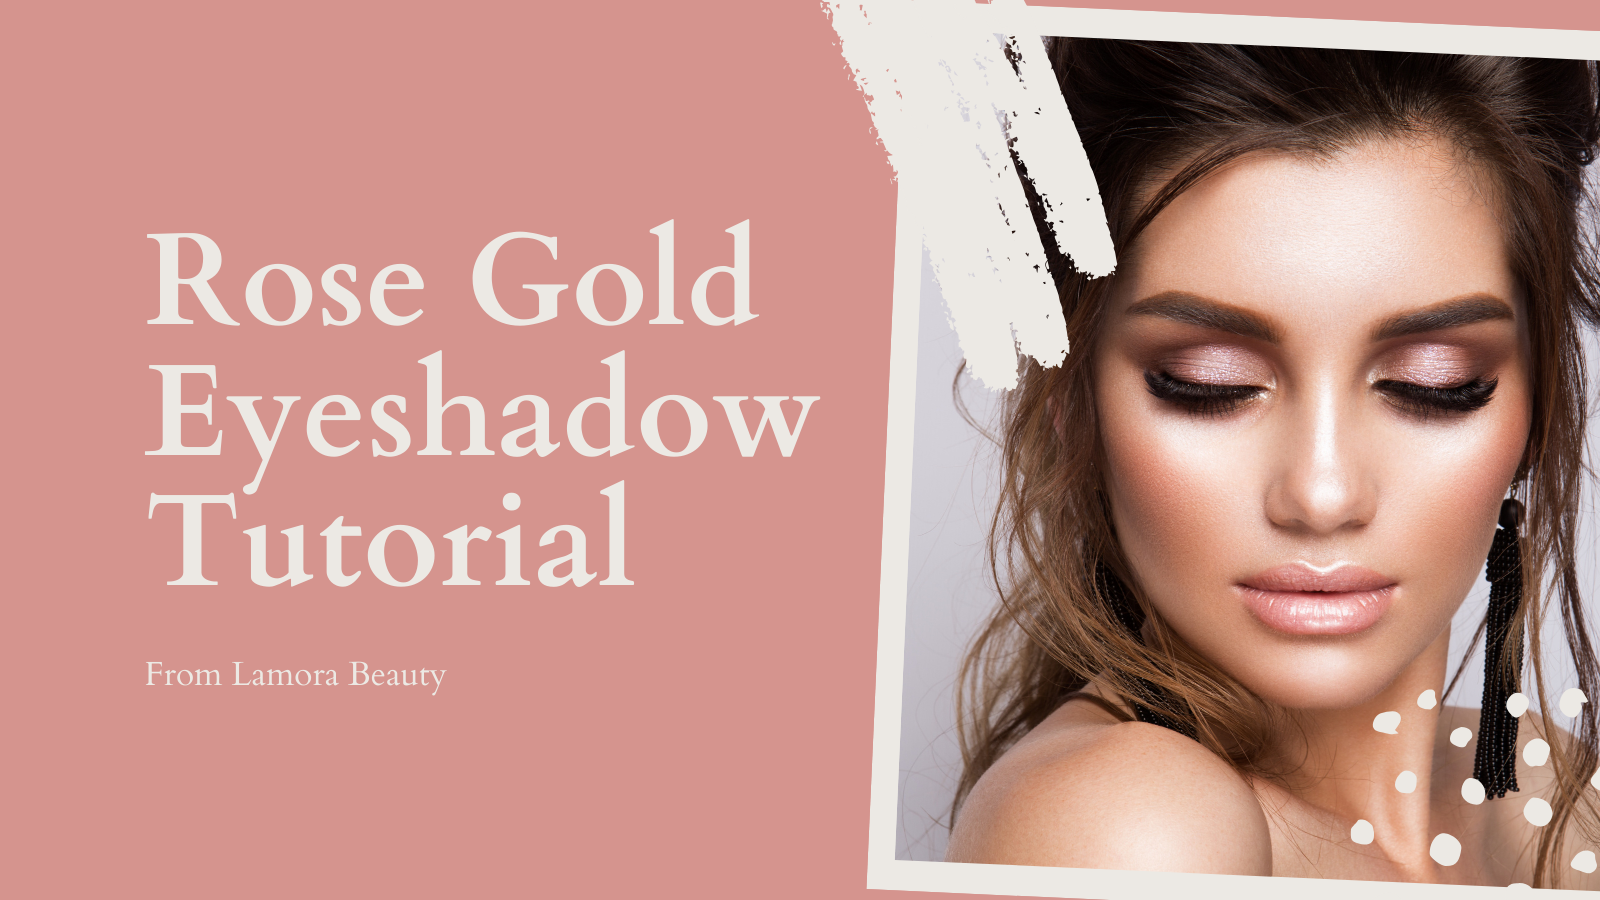
Rose Gold Eyeshadow Tutorial
Posted by Lamora Beauty on
Here at Lamora, rose gold is one of our FAVORITE colors. So it only makes sense to kick-off our eyeshadow tutorial series with a beautiful rose gold look, perfect for work, school, or evening functions.
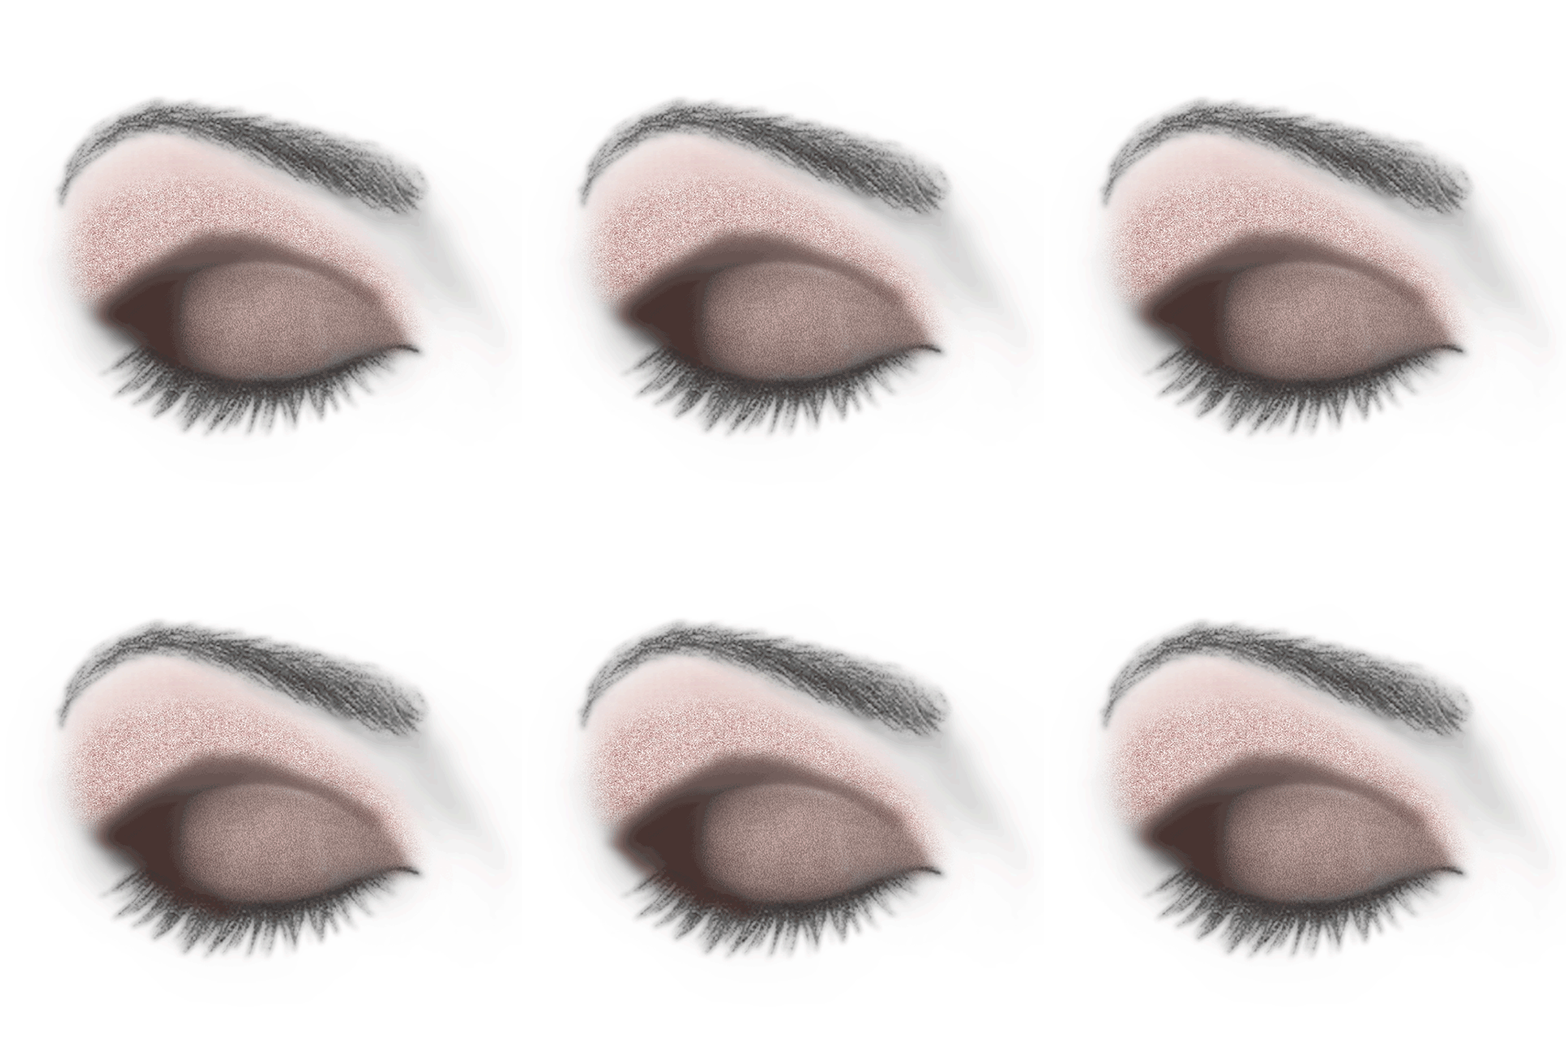
With colors from the exposed eyeshadow palette and brushes from our 7pc eyeshadow brush set (which also comes in ROSE GOLD!!), we created this look just for you. Check it out!
Step 1) Inside & Middle Lid
Color: Cameo | Brush: Classic Shader
Apply this beautiful, strong base color to the inside and middle lid by packing pigment onto the brush and using a light, patting motion, starting at the tear duct and moving outwards.

Step 2) Outer Corner
Color: Espresso | Brush: Small Shader
Next we’ll start to create a soft, smokey effect in the outer corner of the eye. Pack on a good amount of pigment to the bristles, then pat the brush head onto the lid in a heart-shape at the outer corner of the eye. Lightly blend the outer corner and middle lid with subtle sweeping motions inwards.

Step 3) Crease
Color: Espresso | Brush: Precise Shader
Starting with a smaller amount of pigment and adding more as needed, create more definition across the crease by sweeping the brush inside of the socket line, starting just above the tear duct and lifting up as you approach the outer corner of the eye.

Step 4) Above the Crease
Color: Champagne | Brush: Angled Shader
Use a medium amount of shadow with the angled shader brush to apply a light highlight above the crease of the eye. Angle the brush with your brow bone and lightly dust the shadow onto the area using long, sweeping motions, starting from just inside and above the tear duct and working outwards.

Step 5) Brow Bone
Color: Cream | Brush: Angled Shader
For more definition in the highlight, apply the beautiful cream color to the area just below the brow bone. Using a small amount of pigment, angle the brush with your brow bone and lightly dust the shadow along the shadow line above the crease and just below the brow bone. Use a long sweeping motion to blend the cream and champagne colors together.

Step 6) Under Eye & Lash Line
Color: Plum | Brush: Angled Detailer
To round out the dimension, apply the plum color to the lash line and just under the outer part of the eye to about half way under the eye. Lightly pat the brush against the skin in a line, then use small sweeping motions to blend.

Step 7) Inner Corner
Color: Champagne | Brush: Detail Pencil
For the final highlight, apply the light, shimmery champagne color to the inner corner of the eye, just outside of the tear duct. Lightly pat the brush against the skin in a small semi-circle, then sweep up once at either end to blend.

Step 8) Blend
Brush: Blending Brush
After applying shadow, use the blending brush to lightly blend the colors for an airbrushed finish. Working from the inner corner, work in small circles (making them larger as you move along your eye) to blend away lines, concentrating the darker colors on the outer corner of your eye.

Step 9) Eyeliner
Color: Espresso/Dark Brown | Brush: Angled Detailer or Eyeliner Pencil
Finish off the look with a brown or dark brown eyeliner. Use the angled detailer for liquid or cream eyeliners, or apply using an eyeliner pencil. Run the product smoothly across the lower lash line, being cautious not to get any of the product in your eyes. Then, use a finishing spray to extend the look, so you can enjoy it all day and all night!


