Lamora Beauty Blog
Face Brushes | Eyes/Brows | Beauty Blenders | Eyeshadows
How to use Every Essential Eyeshadow Brush
Lamora Beauty Blog | 10/8/2019

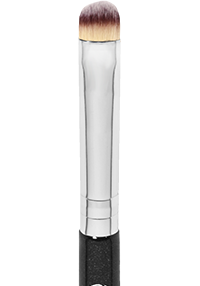
Classic Shader
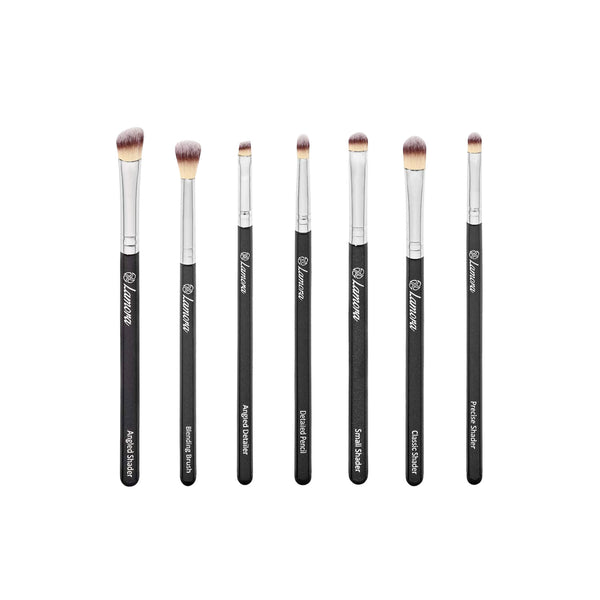
One of the most essential eyeshadow brushes, this classic shader is designed to create perfect coverage over the entire lid. The soft, densely-packed bristles hold a ton of shadow while a wide semi-circle edge conforms to the natural shape of your eyelid, making it easy to apply the perfect amount of eyeshadow.
To use, apply a powder or cream eyeshadow by evenly patting the brush over your entire lid, starting from the inner corner of your eye (just above your tear duct) and working your way outwards. For a softer look, instead of patting the brush, use a sweeping motion with quick gentle strokes.

Small Shader
The small shader brush has short tightly-packed bristles, perfect for applying and smudging creams and shadows along the lash line. The soft but dense brush head picks up product easily and deposits it in one swipe, allowing for both precise application and flawless blending.
Use by pressing product (working from the inner eye outwards) along the top or bottom lash line, then use to blend with light, circular, sweeping motions. For a lighter application, use a sweeping motion instead of pressing the product onto the skin.

Precise Shader
The precise shader features short dense bristles and a round brush head, allowing it to hold a ton of product while keeping it’s incredible precision. This brush is perfect for creating a soft, smokey effect in the crease or at the outer corner of the eye.
To use, apply a darker pigment to the bristles, then pat the brush head onto the lid in a v-shape at the outer corner of the eye, or in the outer 3/4ths of the crease., Add in subtle sweeping motions (along with the patting motion) for a softer, blended look.

Angled Shader
The angled shader brush is perfect for applying color to the socket line and above. The slight fan of the brush and densely packed bristles pick up the perfect amount of product, while the angled edge and slight fan shape of the brush head conform perfectly to the crease of the eye.
To use this brush, apply cream or powder by sweeping the brush inside of the socket line, starting just above the tear duct and lifting up as you approach the outer corner of the eye.

Blending Brush
As the name suggests, the blending brush meets all of your color blending needs: define your crease, darken your outer corners, and put emphasis on your base shadow. The long dome-shaped bristles fan out to diffuse harsh pigment and blend away lines for a smooth transition of color.
Pick a contour eyeshadow (that’s darker than your base color) and use this brush to dust shadow across the crease of your eye, starting from your outer corner. Or, blend away harsh lines with circular motions, concentrating color on the outer corner of your eye.

Angled Detailer
The angled detailer brush is perfect for precise finishes with cream, gel and powder formulas. The short, firm bristles offer incredible control to create clean defined lines, while the angled flat edge is perfect for packing pigment or gel liner close to the lash line.
To use, sweep the bristles across your top or bottom lash line, angling the longer end toward your tear duct and gliding the brush across to the outer corner of your eye.

Detailed Pencil
The detailed pencil brush is the perfect multi-use precision tool. Densely-packed bristles pick up the perfect amount of pigment while the soft tapered brush head allows you to target all of the small, hard-to-reach areas.
Use this brush to brighten up inner corners by pressing a light, shimmery shadow next to the tear duct, or darken your crease and create definition by placing concentrated color on the outer-v. Once the color is applied, blend along the crease with soft circular strokes.
Recent Articles
How to Use Every Essential Eyeshadow Brush
Shop Lamora

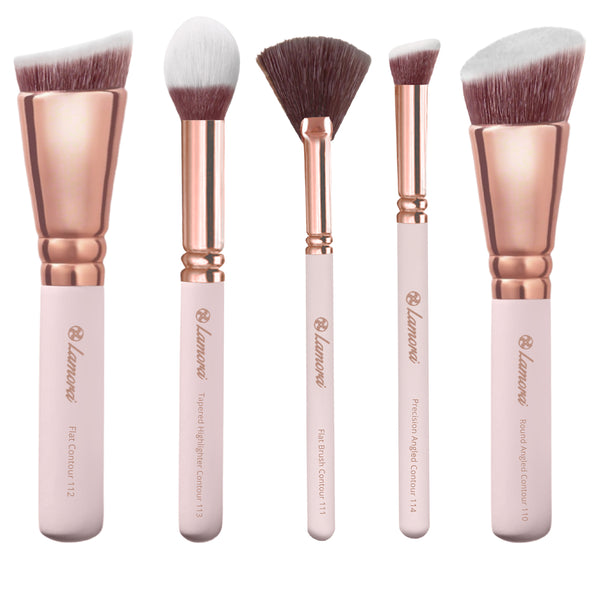
Contour Brush Set

Eyeshadow Brush Set Black

Makeup Sponge Pink Teardrop

