Lamora Beauty Blog
Face Brushes | Eyes/Brows | Beauty Blenders | Eyeshadows
How to Use the 6 Most Essential Foundation and Eyeshadow Brushes
Lamora Beauty Blog | 10/8/2019
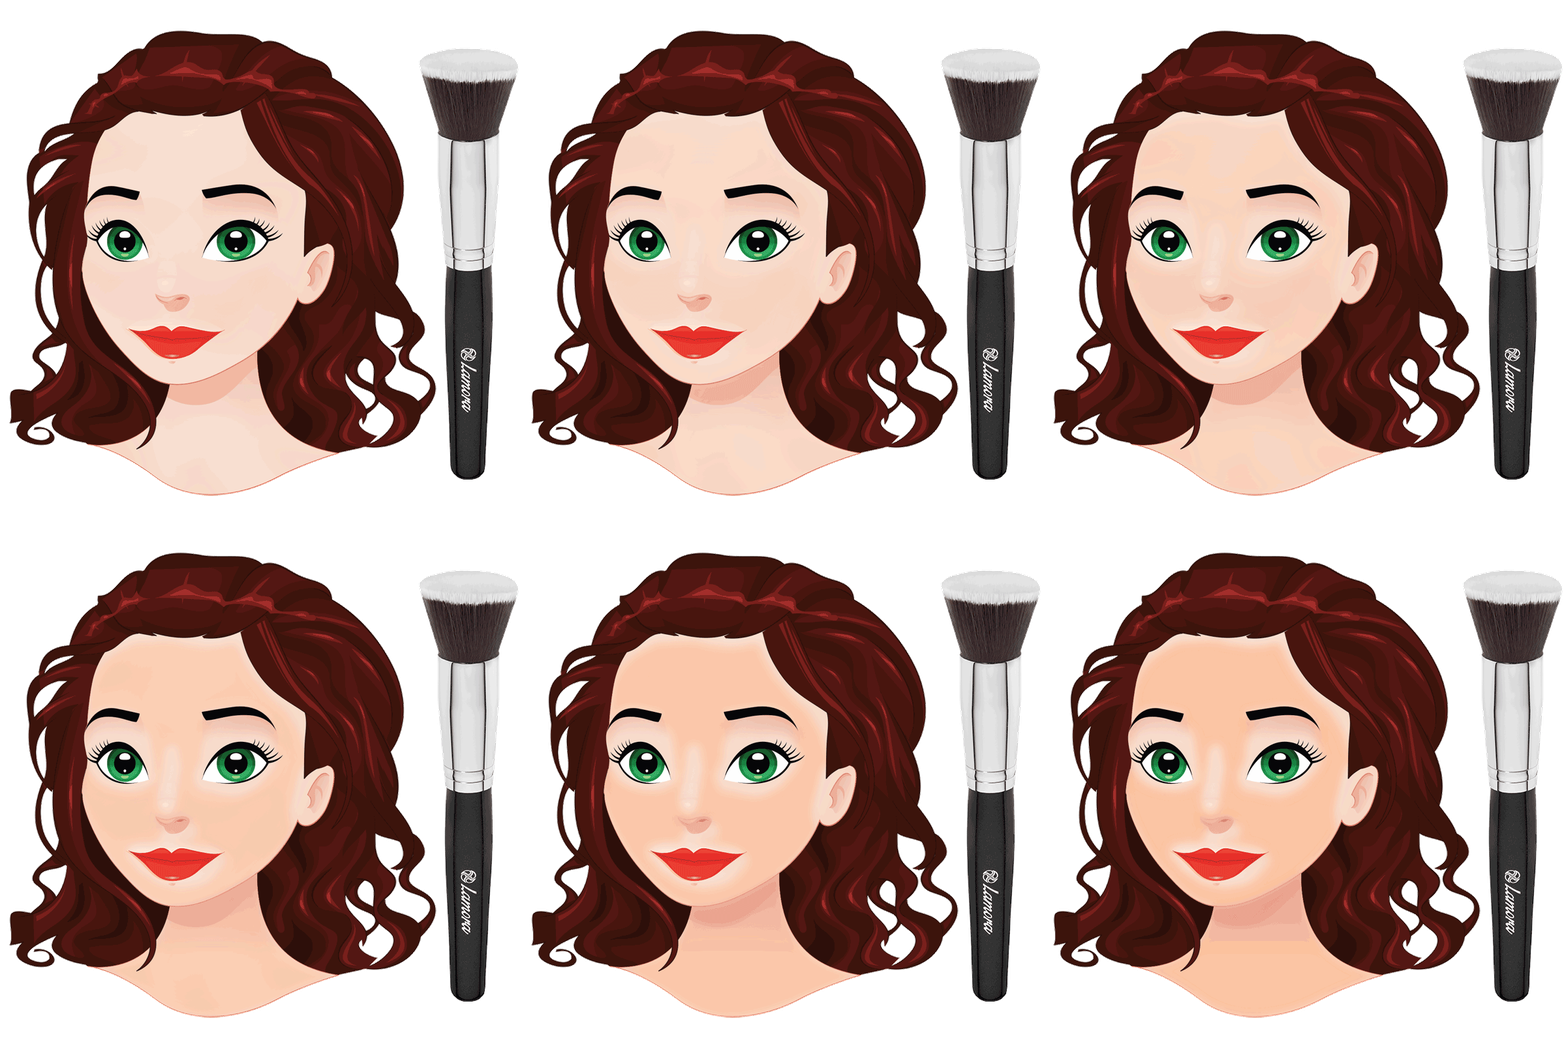
Step 1) Liquid Foundation
Use the flat kabuki brush to apply a liquid or cream base foundation to the main, flat areas of the face.
Dip the brush head in product, then apply in small, circular buffing motions. For full coverage, lightly press the brush onto the face. For medium or light coverage, apply by using half circles or lightly sweeping the brush across the face.
Always start at the center of your face and blend your foundation outward in smooth, even strokes to prevent harsh makeup lines around the edges of your jawline and hairline.
Step 2) Powdered Products
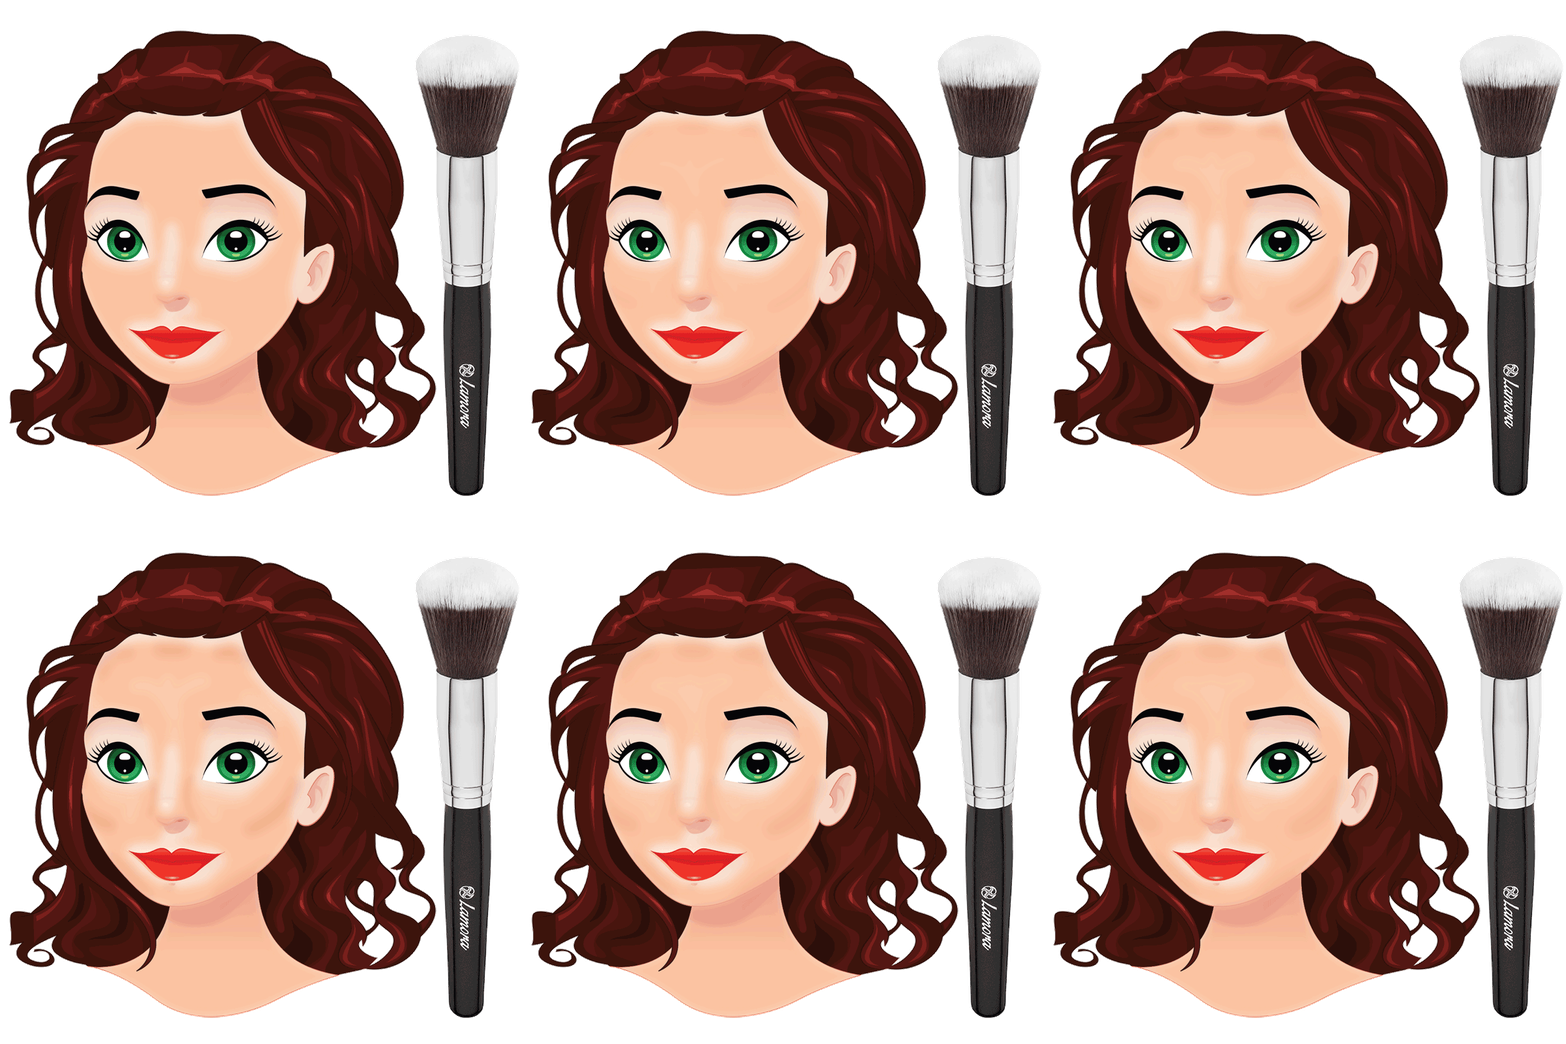
While the flat kabuki brush is best used for liquid foundation, the powder brush is best used with a powdered product to apply foundation, bronzer, or a finishing powder.
To use, dip the brush in the powder, swirl, and tap the handle on the edge of your makeup container or sink to remove the excess before applying. For foundation: using medium-sized sweeping circles, move the brush over the main areas of your entire face, working from the inside of your face out.
For bronzer: apply in a swift figure 8 pattern to create more subtle definition, and a sweeping motion for a more intense look.
Step 3) Blending & Precision
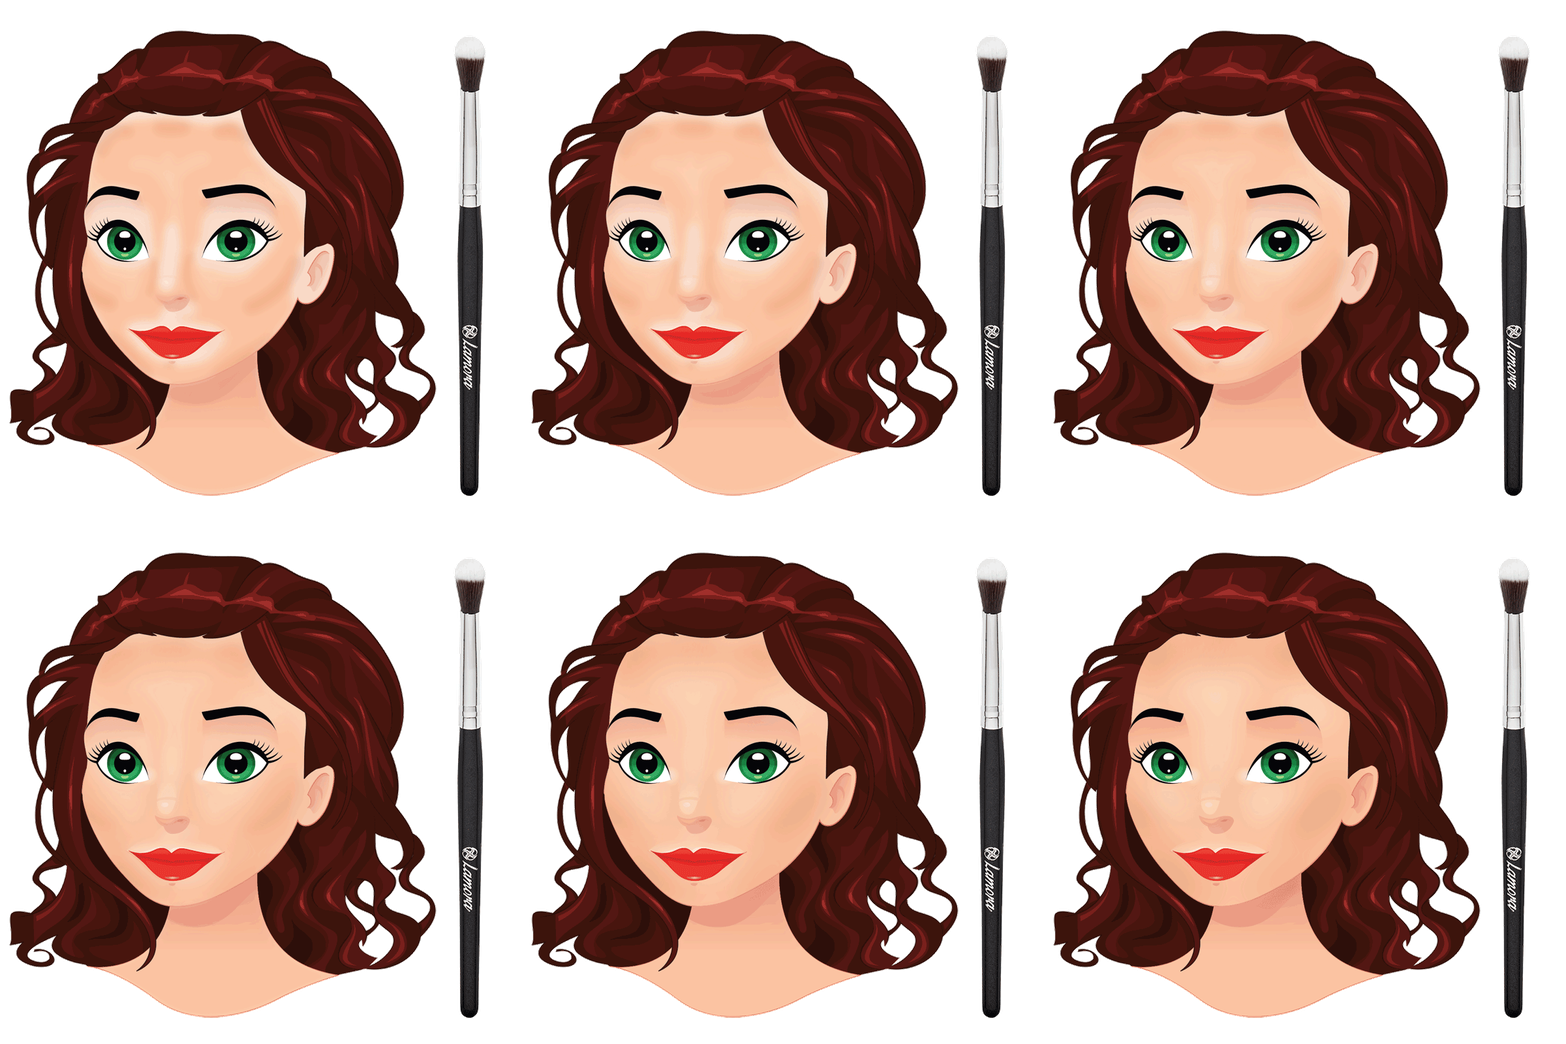
While the blending brush is typically meant for applying eyeshadow, one of it’s best “hidden talents” is buffing out harsh lines created by applying foundation, and blending the product applied by bigger brushes into the smaller areas of the face.
To use, start by dipping your brush in warm water then gently squeezing out the excess. Beginning in the center of the face, use light sweeping circles to pull product into creases, under the eyes and nose, around the mouth, and into other precision areas. Then, use to blend around the hairline and jawline, making sure to buff out any harsher lines by applying a small amount of foundation when needed.
Step 4) Blush/Bronzer
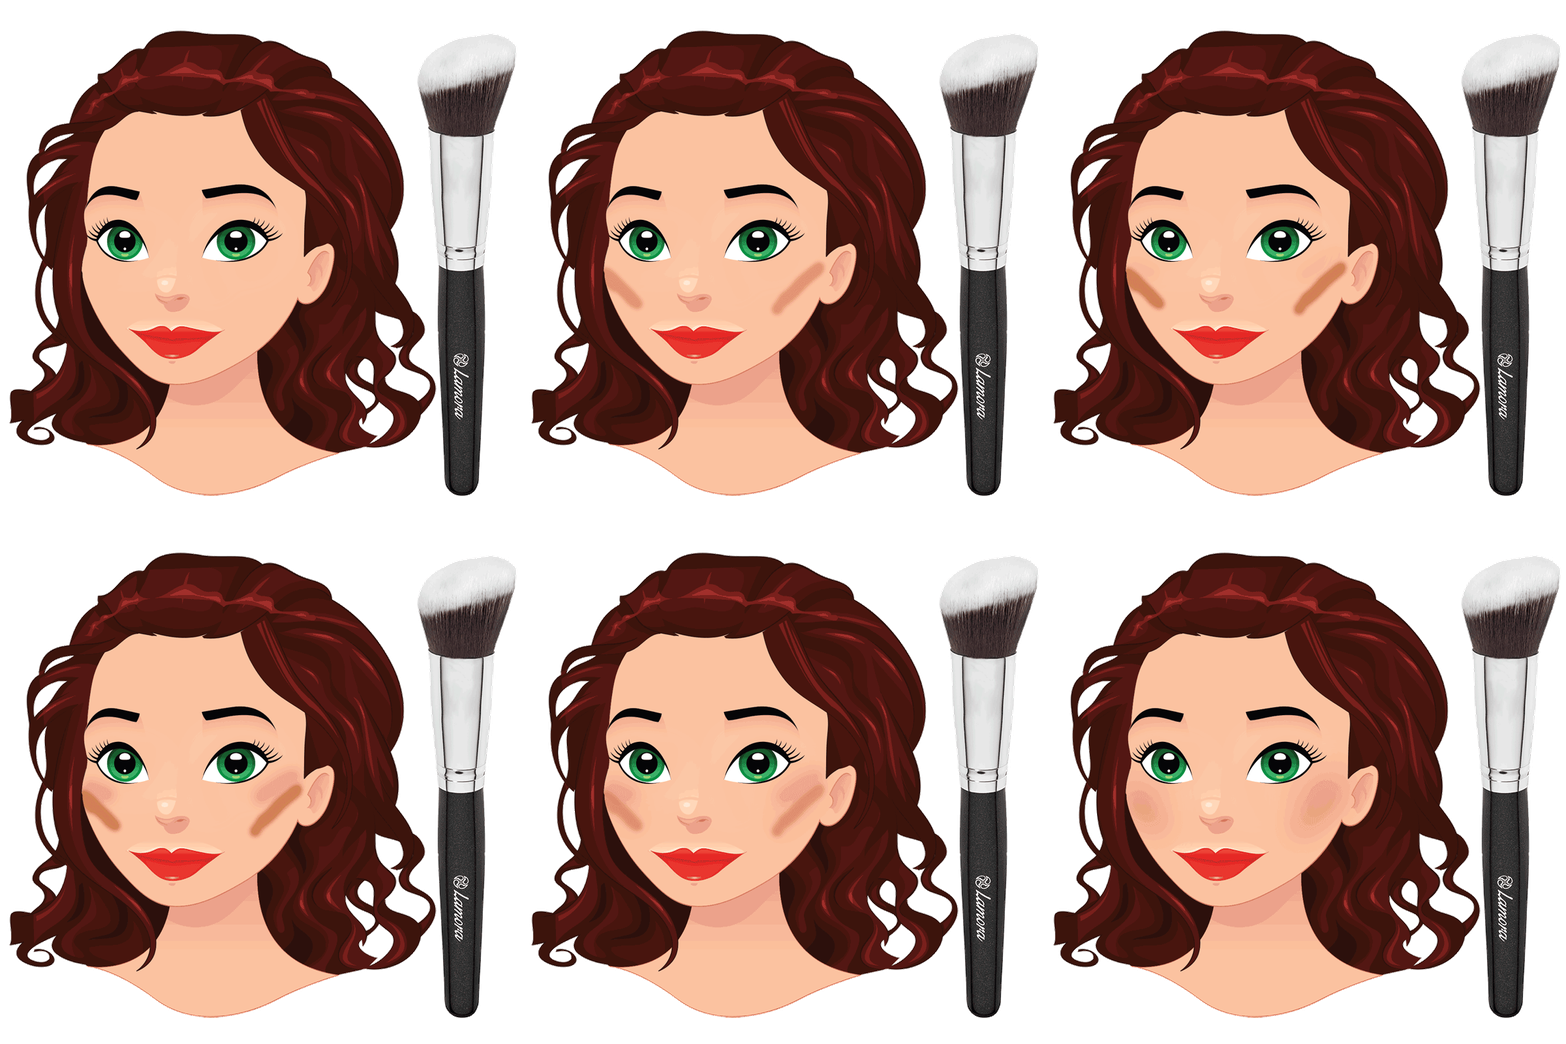
Although this brush is called a “Blush Brush”, it can be used to sculpt and color the cheeks with either brush or bronzer, or to blend in color applied with a contour or blush stick.
To apply powder, dip the brush in the product, swirl, and tap the handle on the edge of your makeup container or sink to remove the excess before applying. Hold the brush at an angle to move with the natural slope of cheekbones and jawline. Working from the inside of your face outwards, use long sweeping motions to apply the product.
To use this brush to blend in color applied with a contour stick, use long sweeping motions along the cheekbone where the product was applied. For a blush stick, use large circular motions to blend in the product just above the contour line.
5) Apply Eyeshadow Color
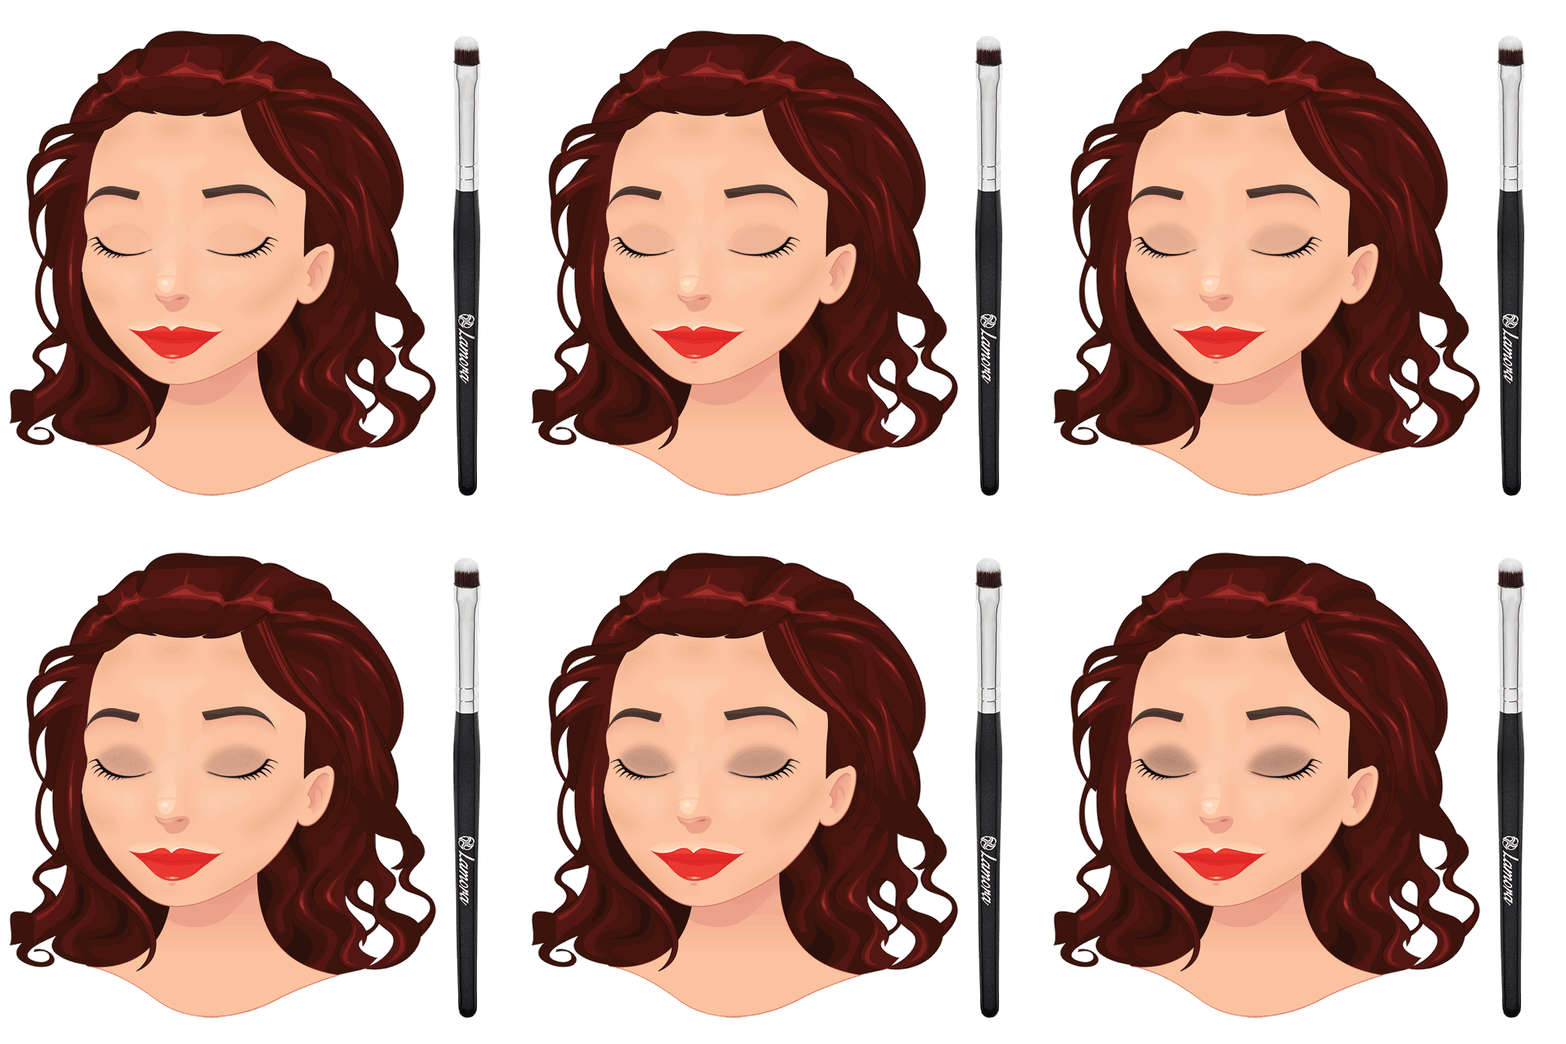
One of the most essential eyeshadow brushes, use the small shader to create perfect coverage over the entire lid. Apply a medium-toned powder or cream eyeshadow by evenly patting the brush over your entire lid, starting from the inner corner of your eye (just above your tear duct) and working your way outwards. For a softer look, instead of patting the brush, use a sweeping motion with quick gentle strokes.
Then, create color definition by applying a medium-dark transition color to the crease of the eye by sweeping the brush inside of the socket line, starting just above the tear duct and lifting up as you approach the outer corner of the eye. For even more definition, apply a darker pigment to the bristles, then pat the brush head onto the lid in a v-shape at the outer corner of the eye.
6) Apply Highlight/Blend
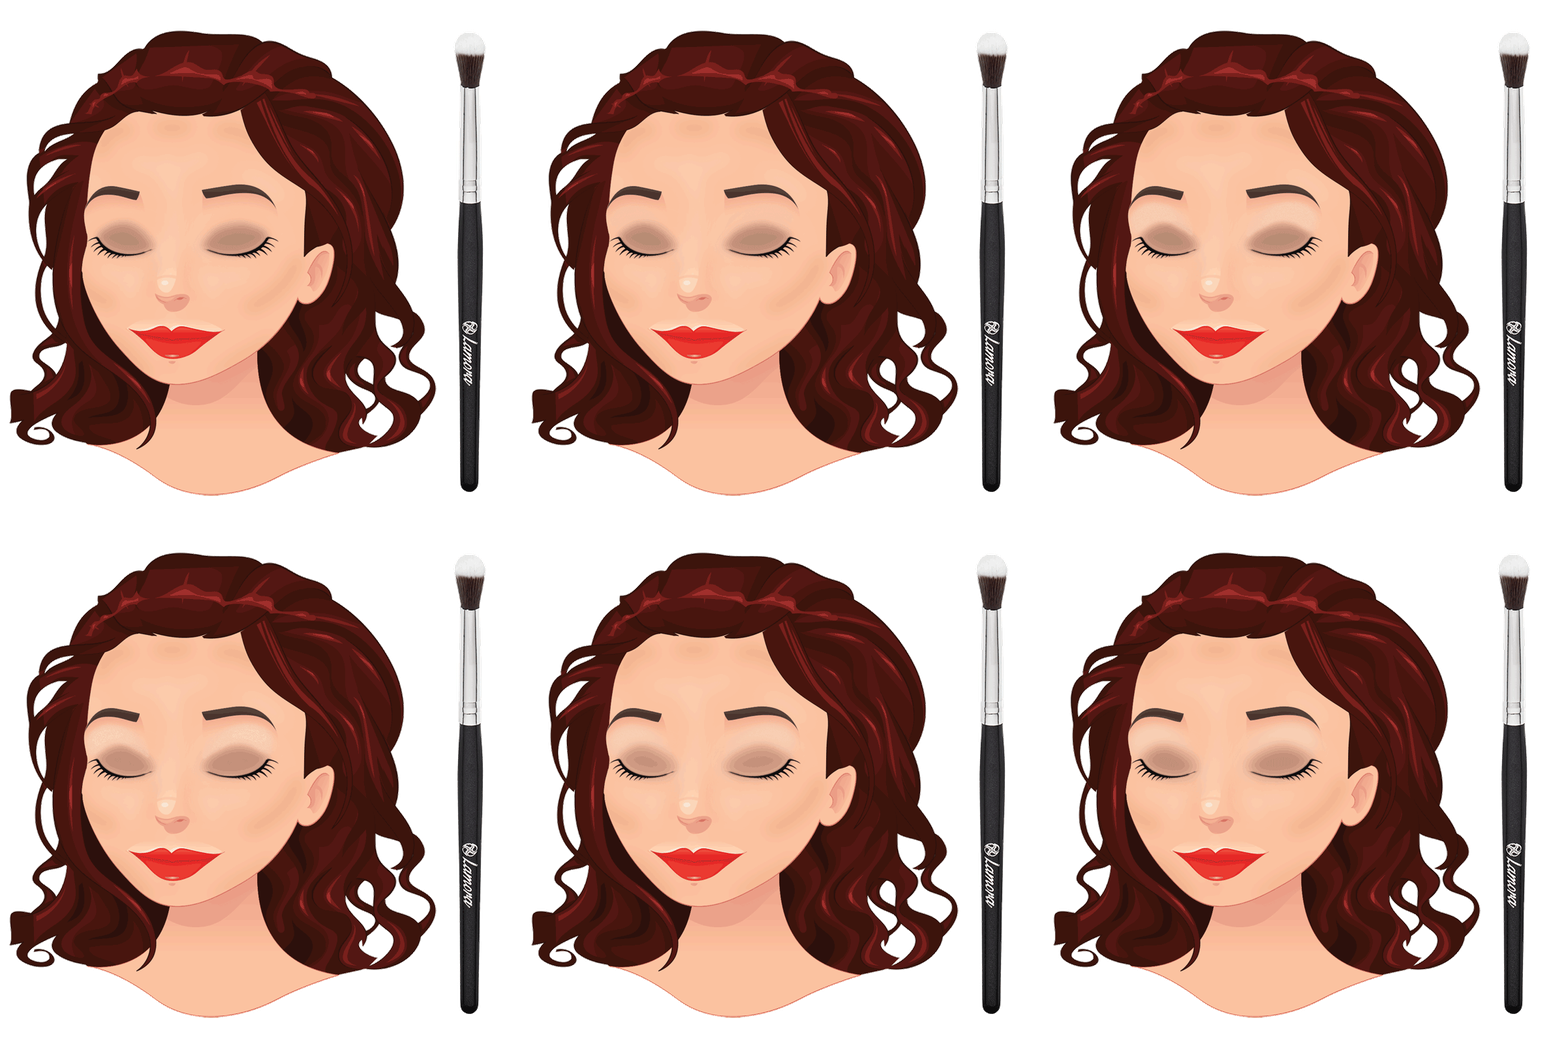
The blending brush, while great for blending foundation, is best used for applying/blending eyeshadow makeup over the larger areas of the eye.
Make sure that any product has been removed from the brush if used to blend foundation, then use it to apply a light highlight above the crease of the eye. Lightly dust the shadow onto the area using long, sweeping motions, starting from just inside and above the tear duct and working outwards.
Then use the brush to diffuse the pigments and blend away lines for a smooth transition of color, working in small circles (making them larger as you move along your eye) to blend away lines, concentrating the darker colors on the outer corner of your eye.
7) Eyeliner/Definition
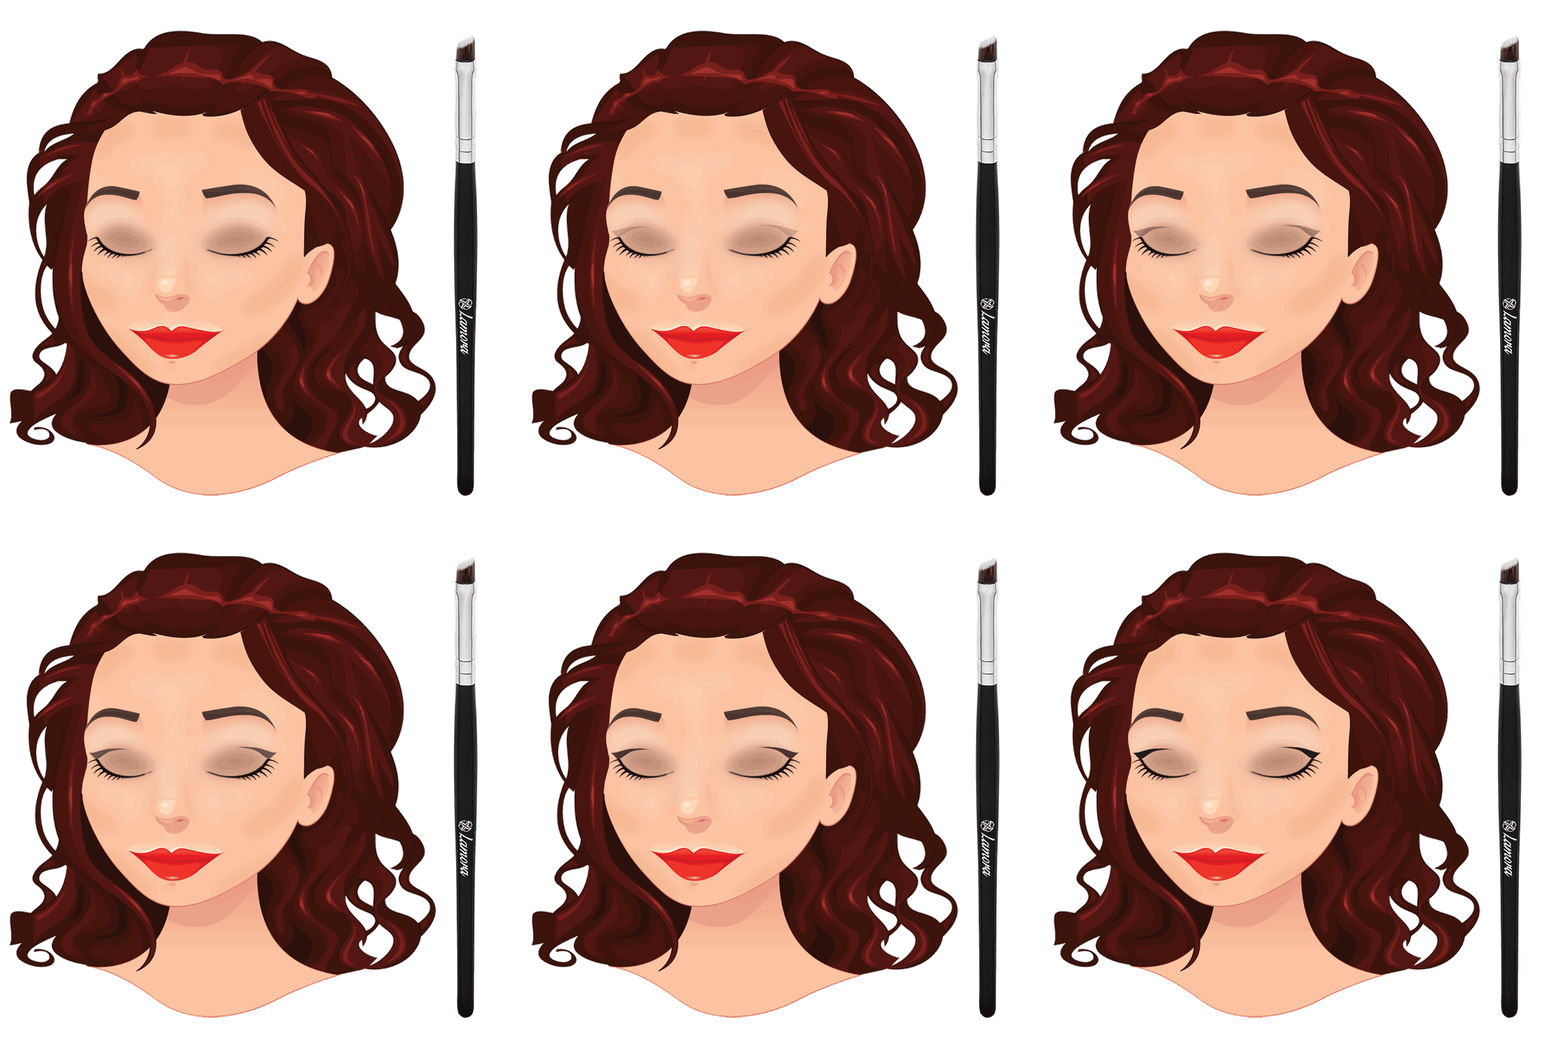
To finish off the look, use the Angled Detailer to apply a gel or cream eyeliner just above your lash line. The short, firm bristles offer incredible control to create clean defined lines, while the angled flat edge is perfect for packing pigment or gel liner close to the lash line.
Apply a small amount of product onto the tip of the brush, then carefully apply to the upper and lower lash line by patting the brush along the line. Then, use very small sweeping motions to blend out any lines that may have been created during application.
You can also use this brush to create defining lines, like wings or swirls.
