Lamora Beauty Blog
Face Brushes | Eyes/Brows | Beauty Blenders | Eyeshadows
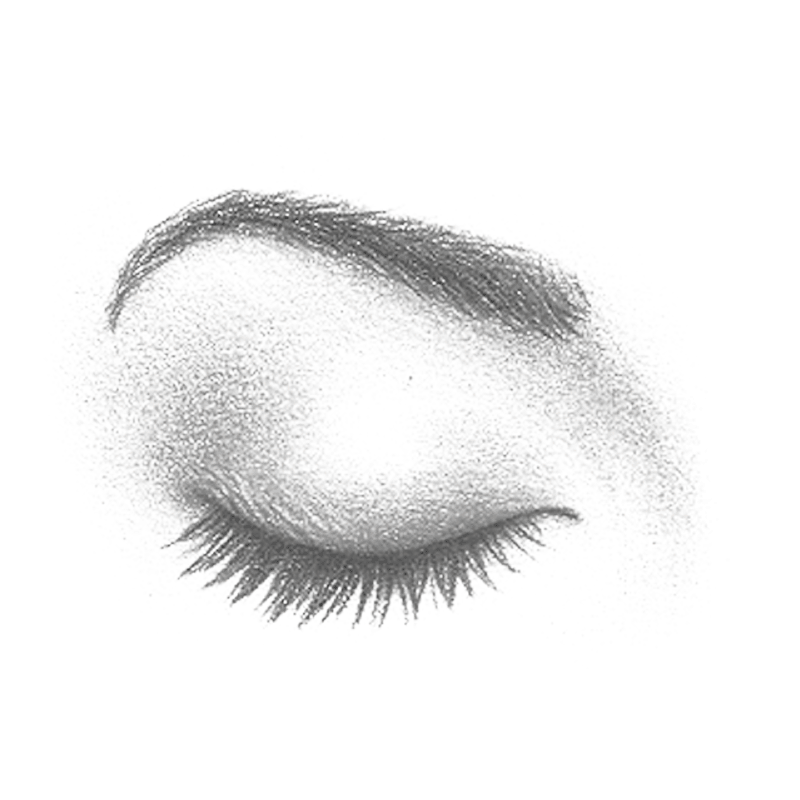
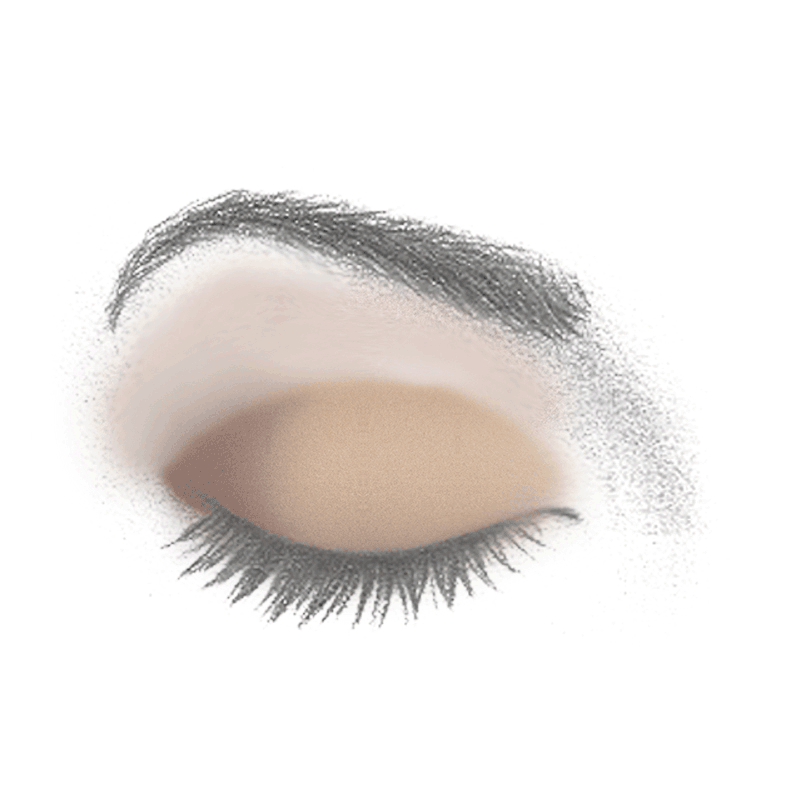
The Ultimate Beginners Eyeshadow Tutorial
Lamora Beauty Blog | 10/8/2019
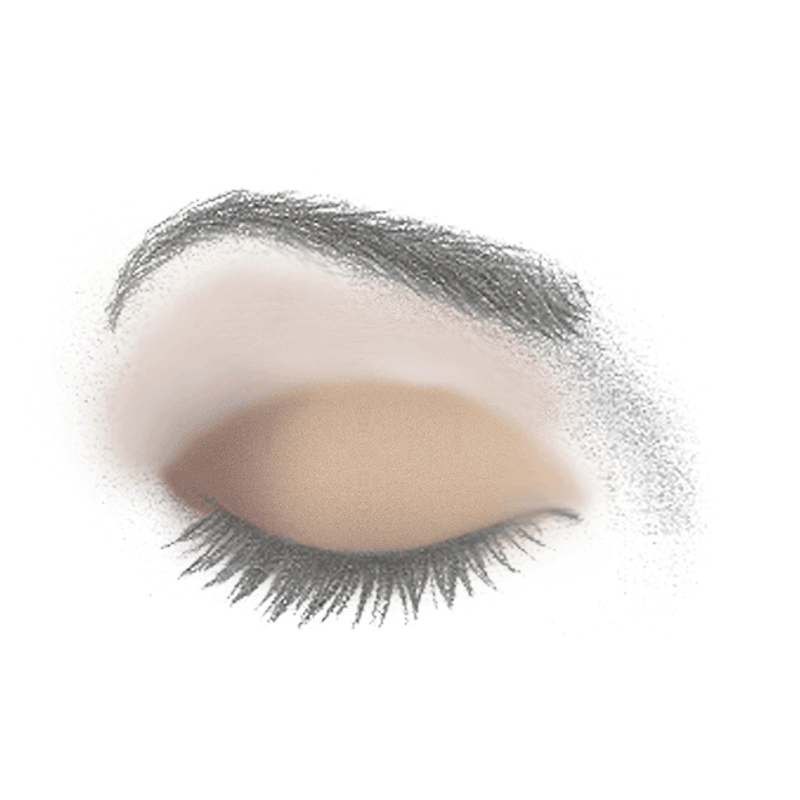
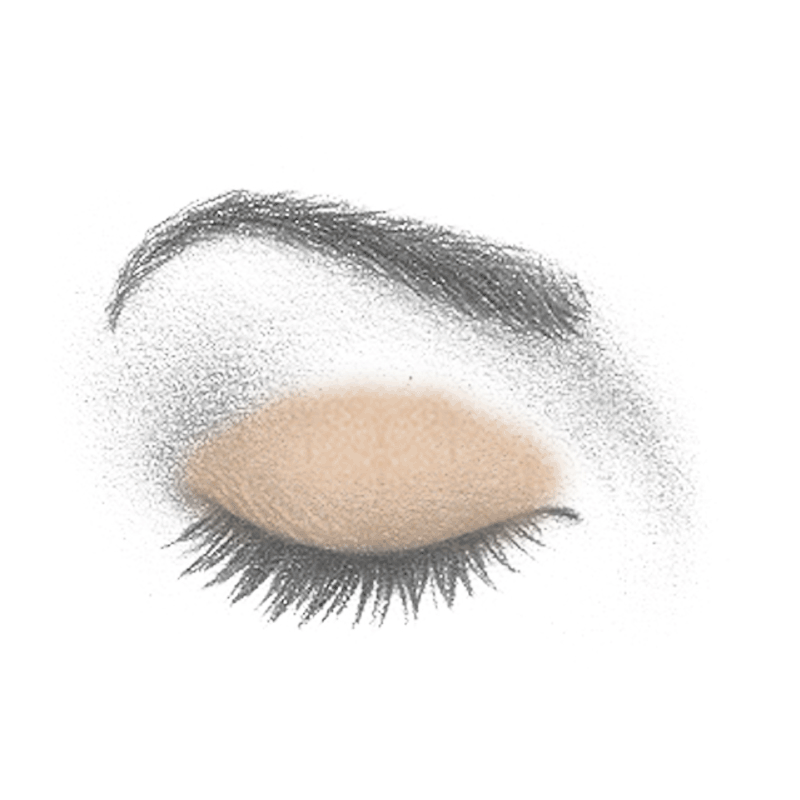
Step 1) Apply Base Color
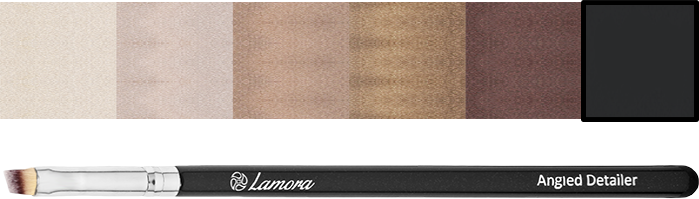
Let's begin at the beginning ,with one of the most essential eyeshadow brushes, the classic shader! This brush is designed to create perfect coverage over the entire lid. The soft, densely-packed bristles hold a ton of shadow while a wide semi-circle edge conforms to the natural shape of your eyelid, making it easy to apply the perfect amount of eyeshadow.
While this brush can be used as an all-purpose tool, we'll start by using it to apply a medium-toned powder or cream eyeshadow by evenly patting the brush over your entire lid, starting from the inner corner of your eye (just above your tear duct) and working your way outwards.
For a softer look, instead of patting the brush, use a sweeping motion with quick gentle strokes.
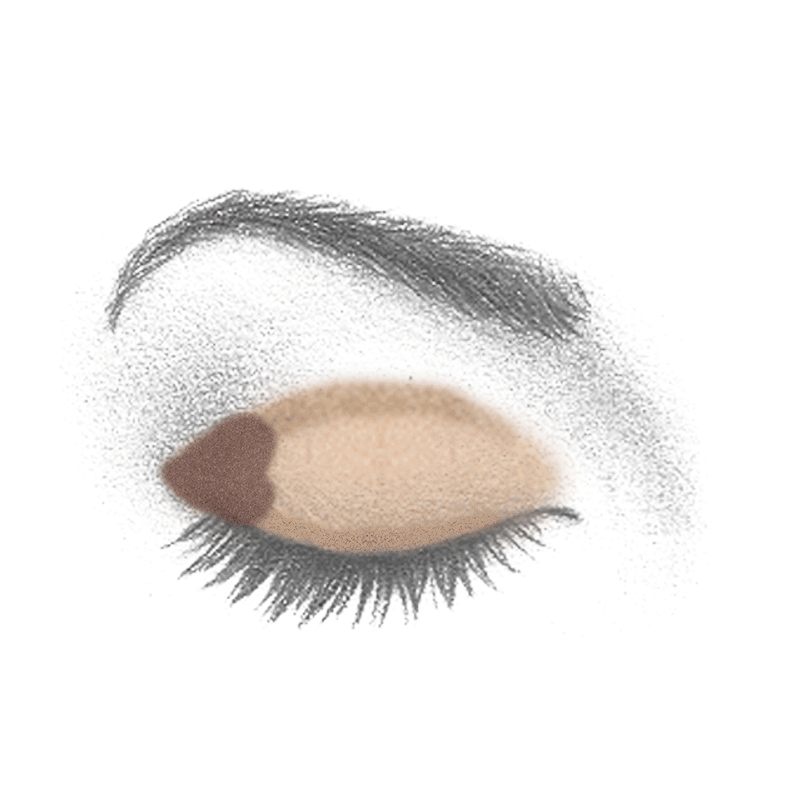
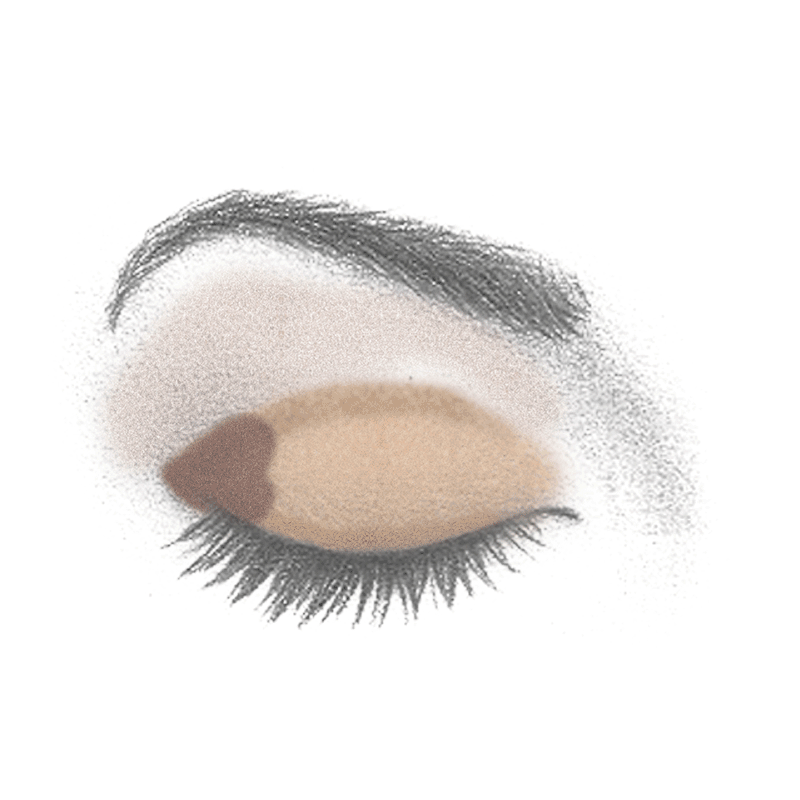
Step 2) Apply a Transition/Crease Color
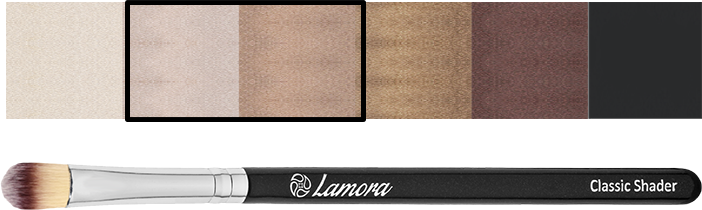
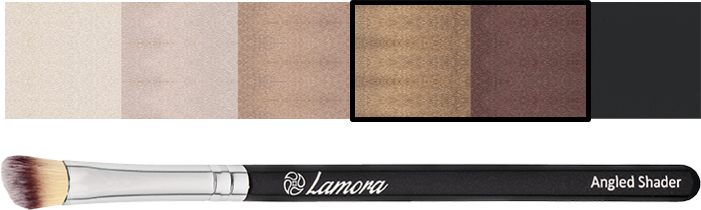
There are two main color options for the crease: a transition color for a more subtle, everyday look, or a darker, defining color. A transition colour is a shade used to adjust from one colour of eyeshadow into another. To create definition (as in this example), use a shade darker than the base color.
The best tool for applying product in this tricky area is the angled shader brush. The slight fan of the brush and densely packed bristles pick up the perfect amount of product, while the angled edge and slight fan shape of the brush head conform perfectly to the crease of the eye.
Use this brush to apply the pigment to the crease of the eye by sweeping the brush inside of the socket line, starting just above the tear duct and lifting up as you approach the outer corner of the eye.
Step 3) Add Definition to the Lash Line
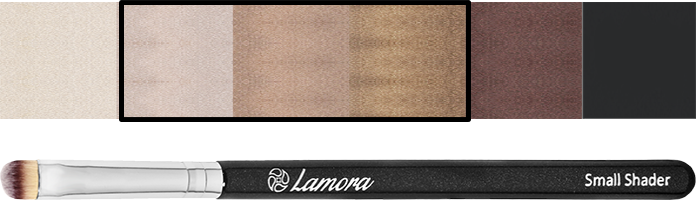
For the perfect eyeshadow, precision is key. While there are many brushes that will give you that, the small shader is definitely a major staple for your makeup bag. The small shader brush has short tightly-packed bristles, perfect for applying and smudging creams and shadows along the lash line. The soft but dense brush head picks up product easily and deposits it in one swipe, allowing for both precise application and flawless blending.
Use this brush to create lower definition, by applying a medium-toned color just above the lash line. Press the product (working from the inner eye outwards) right along the lash line, almost as if you were giving your lashes a quick pat-down. Then use the brush to lightly blend with circular, sweeping motions.
If you want a lighter application all around, just stick with the sweeping motion the entire time, instead of patting the product on.

Step 4) Know that the Corner is Key
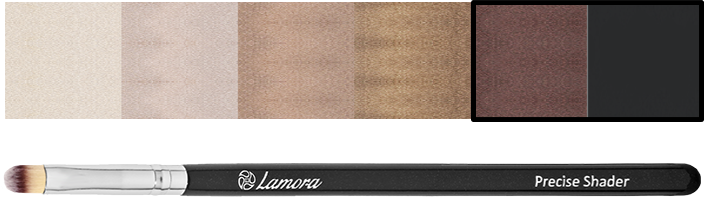
The outer corner of your eye has the potential to make or break your look. This is the area that gives you the most depth, definition, and (let's be real) just general awesomeness. It's also a very tricky area to navigate though, so you HAVE to have the right tools. That's where the precise shader comes in.
The precise shader features short dense bristles and a round brush head, allowing it to hold a ton of product while keeping it’s incredible precision, making it absolutely perfect for applying extremely pigmented colors in just the right spot!
To get the most out of your eyeshadow look, choose a dark, defining color. Apply to the brush, then pat the brush head onto the lid in a heart shape (or v-shape) at the outer corner of the eye. You can also apply it in the outer 3/4ths of the crease, depending on the look you're going for. You can add in subtle sweeping motions (along with the patting motion) for a softer, blended look, but if it's not totally blended and looks a little funky, don't worry! Why? See step 5.

Step 5) Highlight Your Personality
Now that we've applied eyeshadow on the semi-hidden parts of the eye, what do we do about the rest of it? The highlighting area below the brow is a great place to show your personality. Are you a shimmer girl? Glitter guy? More a matte kinda lady? Make your selection and show the world, just don't deviate too far from the color scheme or use a color that's darker than your base shade.
The best brush to use for this is the blending brush. Yes, that's obviously not what the name of the brush says to do with it, but who says you can't do both? The long dome-shaped bristles of the blending brush are dense enough to pack on a good amount of shadow, but fanned out enough to apply highlight in a seamless sweeping motion below your browline.
Select your color, then lightly dust the shadow onto the area above your crease and below the brow line, using long, sweeping motions, starting from just inside and above the tear duct and working outwards.
Step 6) Blend, baby, blend!
While you CAN blend your eyeshadow as you go, we strongly recommend you wait until this step to blend them all together at once. Trust us, it looks WAY better that way.
Ok, NOW we can use the blending brush for it's named purpose, and as the name suggests, the blending brush meets all of your color blending needs: define your crease, darken your outer corners, and put emphasis on your base shadow. The long dome-shaped bristles fan out to diffuse harsh pigment and blend away lines for a smooth transition of color.
Tap off any excess product from the previous step, then use the brush to diffuse the pigments and blend away lines for a smooth transition of color. Blend by working in small circles from the inner eye outwards, making the circles larger as you move along your eye, concentrating the darker colors on the outer corner of your eye.
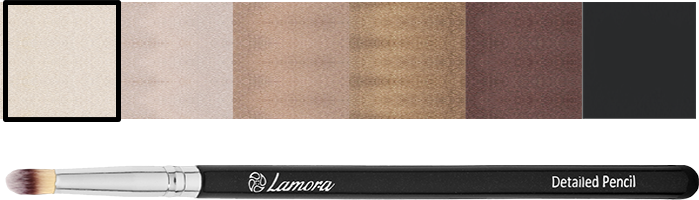
Step 7) Brighten things up a bit
Now that you've blended the colors, you should have a beautiful eyeshadow base with multiple dark highlighting/defining features. One of the final touches is to add in a highlighting color right next to the tear duct and just below the brow to round out the lowlights and create 360 degree definition.
Because these areas are so small (and because you don't want shadow caking up in your tear ducts, or you might have to use them), you want to use the detail pencil brush. It's densely-packed bristles pick up the perfect amount of pigment while the soft tapered brush head allows you to target those small, hard-to-reach areas that we're trying to highlight.
For the inner corner, lightly pat the brush against your skin, then use small sweeping motions to blend the colors together. Tap off any darker products you may have picked up while blending, then apply the same color just below the brow line with long, sweeping motions, Use the same sweeping motion to blend the two highlight colors together.
Step 8) Crossing the finish eye-line!
Doesn't that look wonderful!? Once everything else is said, done, and blended, it's time to finish out the look with a gel or liquid eyeliner.
Many of these eyeliners come with application tools, yes. But these tools sit inside of the product 24/7, and can quickly lose their functionality (if they even had any to begin with). Using the right brush is a MUST for the right look, so we suggest the angled detailer. The short, firm bristles offer incredible control to create clean defined lines, while the angled flat edge is perfect for packing product incredibly close to the lash line without any mistakes or smudges.
Apply a small amount of product onto the tip of the brush, then carefully apply to the upper and lower lash line by patting the brush along the line. Then, use very small sweeping motions to blend out any lines that may have been created during application.
Want to add some more personality or definition to the look? You can also use this brush to create defining lines, like wings or swirls. You do you, friend!